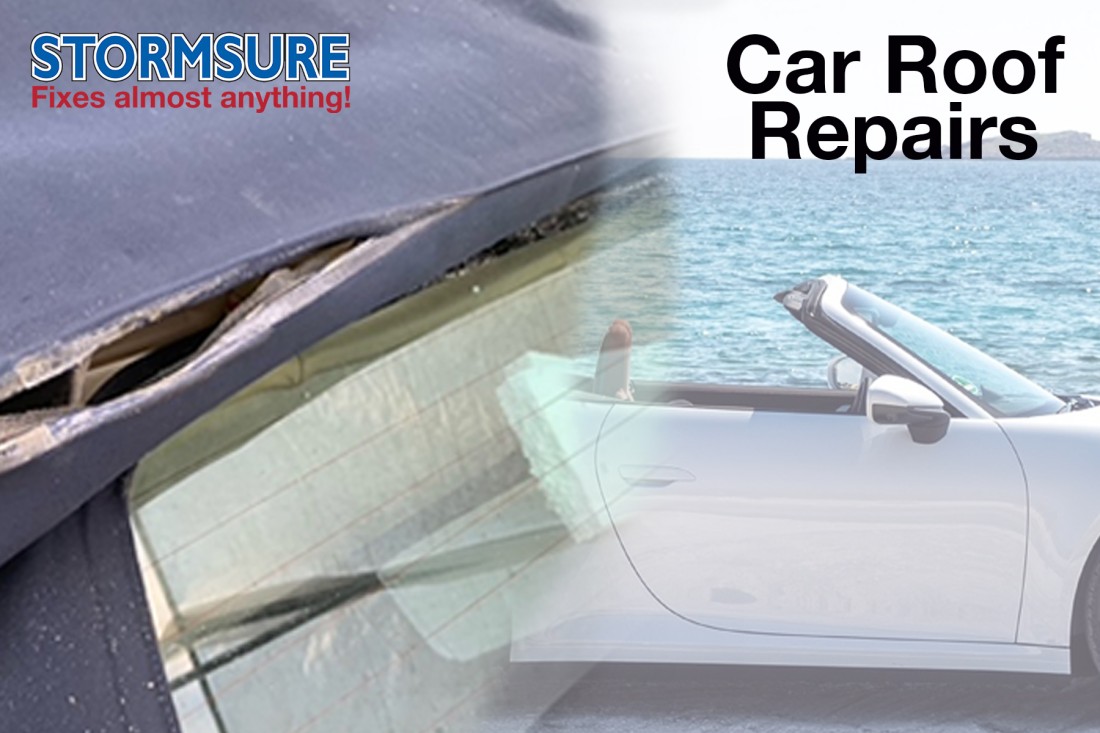
Lets ask a very expensive question? How much does it cost to repair or replace a car soft top?
Hundreds.....thousands?
Well, it doesn't have to....as we are about to show you. Even when you think there is slim to little chance of repairing the roof, we can show you there is a way.
Below you will see some pretty severe damage to a car roof. The roof is over 20 years old, worn, tired, left to sit for long periods of time in all sorts of weather. You might think that there is not much chance of repairing it. But it is a classic car, with emotional and sentimental value. Value that can not really be replaced or replicated with a new one. You really want to be able to get the car back on the road again in it's former glory.
As with a lot of older cars, parts are not easily come by and even if you do find a repalcement, it can be costly to purchase and then costly to fit, provided you can actually find a garage or mechanic able to do it.
What about repairing yourself? You may not think you have the skills or knowhow to do such a repair. And even if you did try, would you just make it worse and ruin it completely?
The simple answer is, yes, you can repair it yourself and, no, you will not ruin it. Preparation is key. There's no need to be scared or overwhelmed by the scale of the task ahead. Little steps and the results can be amazing!
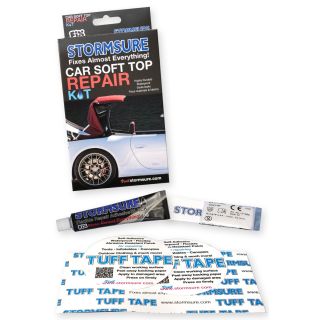
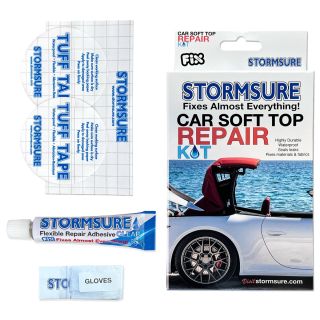
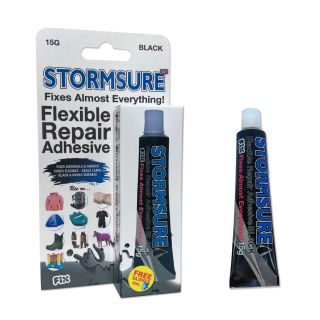
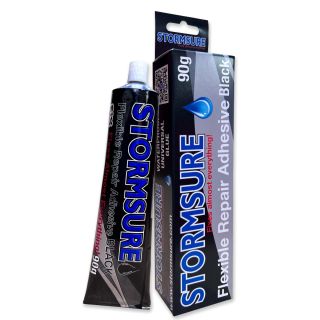
We are going to be using Stormsure Flexible Repair Adhesive.
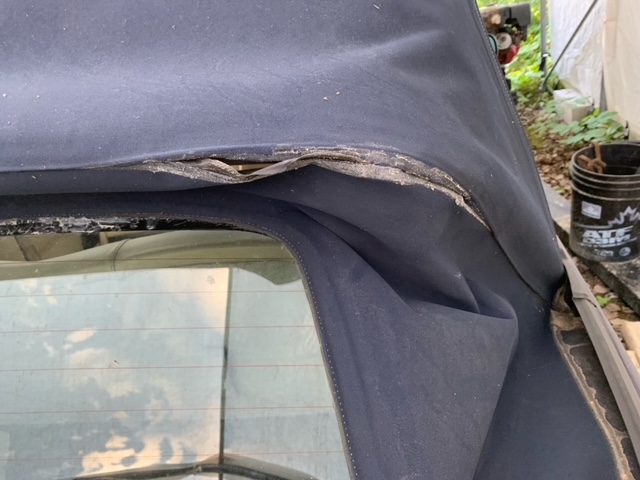
Here you can see quite substantial damage to the roof where the joins are. Where the seams come together. This is common and these areas take the most stress and strain when the roof goes up and folds down. Also where the window fits into the fabric is another common weak spot after time.
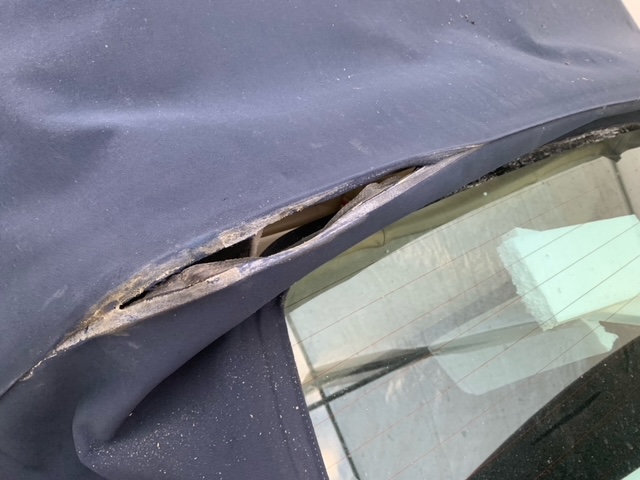
You can also see that the roof in general is very dusty and dirty. Of course it is going to be like that with natural wear and tear and also being subjected to the elements outside. The important thing here, before you start doing anything else, is to clean clean clean. Spend as long as it has to. This particular repair, we spent 3 hours solid cleaning. Getting rid of all the dust from on top of the roof but also from inside of the cracks and rips. Anywhere we are likely to put adhesive, needs to be spotless. We did use soapy water as well to really try and clean the fabric. We also, around the edges of the rips and tears, cut off any frays or strands of fabric. Really try to neaten it up. You are going to bring the edges of the fabric together once glued so the neater and cleaner it can be the better the result.
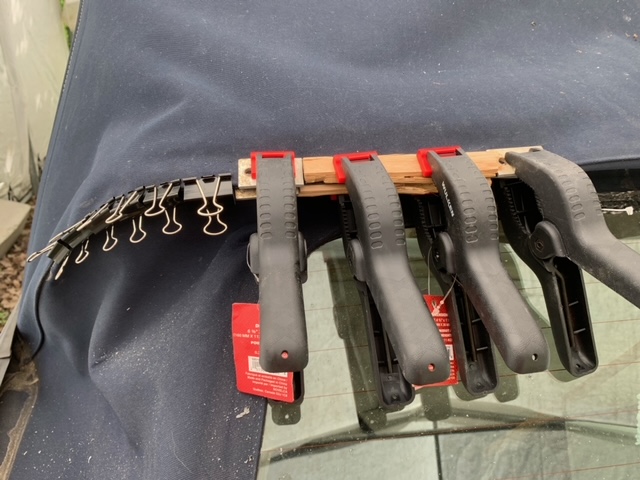
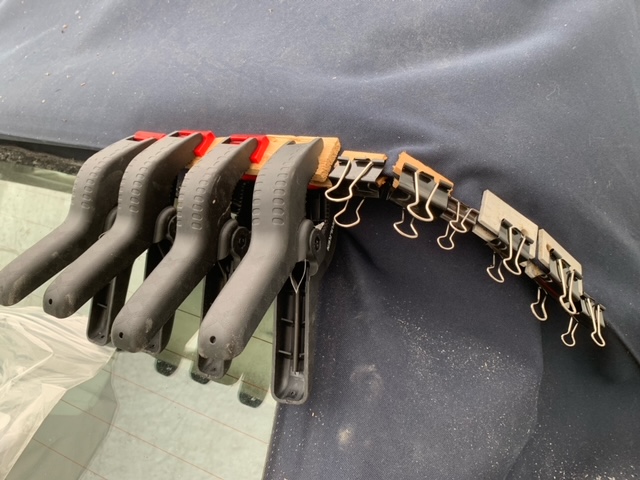
Once you are happy that the fabric of the roof is clean, you have also left it to dry fully if you used soapy water. Then you can be quite confident to start applying the adhesive. Depending on the size of the damage and repair, you may need another person to help you with this next part. There were three of us when we did this repair. You will need one person to bring the edges of the fabric as close together as you possibly can. One person then to apply the adhesive, Stormsure Flexible Repair Adhesive, into the gaps and onto the fabric, with the person holding the fabric to press the edges together. Then we had another person to place clamps or pegs along the joins of the fabric to hold it all in place once the adhesive had been applied.
You can also see that when clamping the roof fabric together, the roof is not fully in it's 'up' postition. This provides a little give to be able to bring the fabric joins together for when the glue is curing.
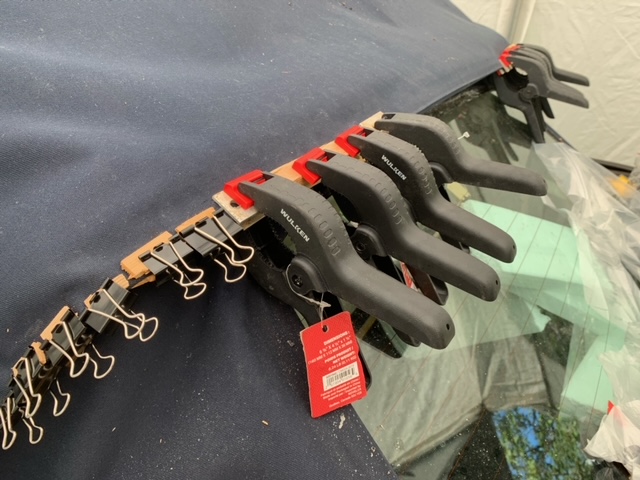
Stormsure Flexible Repair Adhesive takes 10-12 hours to cure (dry) fully, so unless you want to stand and hold it all together for that long, then I would suggest having something to help you with this bit. You can see in the pictures above and below what we used. A mixture of whatever we could find around the house, clothes pegs, paper clips, clamps, anything that can be used to hold the fabric together to allow the adhesive the time it needs to cure fully.
We slowly made our way around and over the car roof, bit by bit. Take your time, it is important to get this part right. Use a decent amount of adhesive, covering both edges of the fabric and into the gaps. Tip: You may want to put something on the inside, underneath where you are applying the adhesive. Once the glue is applied and then clamped, it is likely to squirt out a little and this will happen on the inside. You don't want to get any glue on the upholstery on the inside so make sure it is covered with a sheet to catch any glue that may or may not drip. You can go into the car if this happens to try and stop it or neaty spread the adhesive on the inside over the join of where the fabric meets, giving extra hold.
If you do get any adhesive where you don't want it by accident then have on hand some accetone or nail polish remover and a cloth. you can remove the adhesive when it is still wet with the solvent and cloth. Once the adhesive has cured (dried), then it is virtually impossible to get off. You would need to pick it off with a knife.
Then once you are happy that you have covered the areas you wanted to and clamped it all together in place, leave the adhesive to cure (dry) for the full 10-12 hours or leave overnight. Preferably, you are able to do this job inside, in a garage just in case it does rain. It is not a disater if it does rain as the glue should still cure ok as long as it is not terrential rain but ideally, you want the adhesive to cure when it is dry.
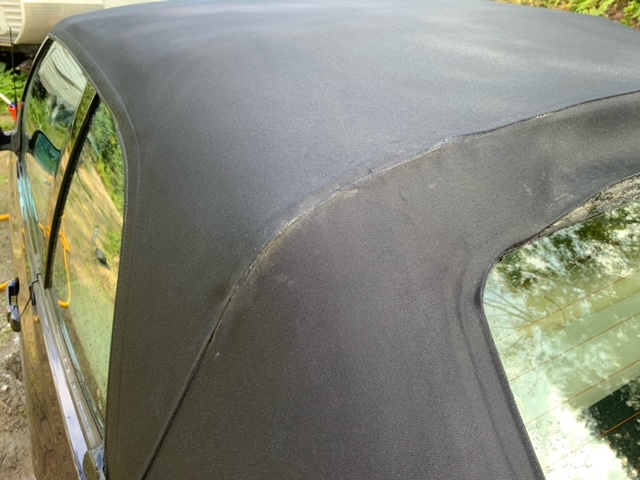
After 10-12 hours, you should now be able to take the pegs and clamps off the fabric. You should see the fabric fully glued together. You are now able to recline and put the roof up to its 'full' postion to test the roof fabric and that it has glued together ok. When it is in it's fully 'up' position, you can also give the roof an even better clean as the fabric is now pulled tight. You can see the results for yourself in the picture above and below.
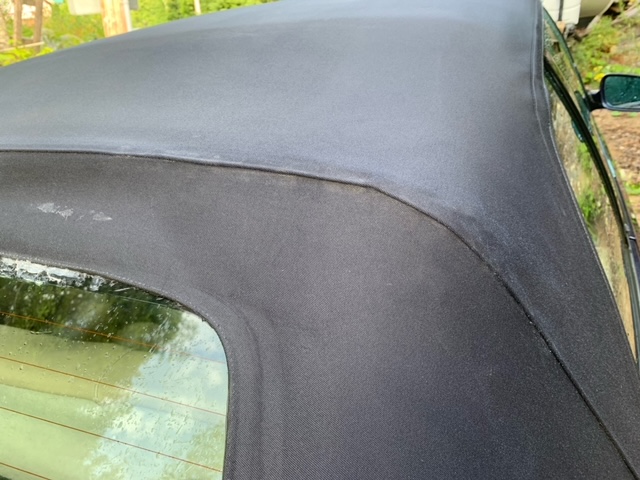
As you can see, we are pretty delighted at the results. Compared to what it was, it looks like a brand new roof. More important than that, we have tested it many many times by taking the roof up and down and it works perfectly in both the 'up' position and in the folded 'down' position.
Now that that part of the repair has been done, we can now move onto the back window in the roof fabric. We are going to use the same adhesive as we used for the fabric and apply many of the same techniques we have already used and have no doubt the window repair will be just as successful.
To do the whole repair, it was a substantial repair, we used two 90g tubes of Stormsure Flexible Repair Adhesive in black. We chose black so it would match the black fabric but you can easily use clear adhesive if you prefer. And for the slightly out there roof colours, Stormsure Adhesive is also supplied in white and khaki.
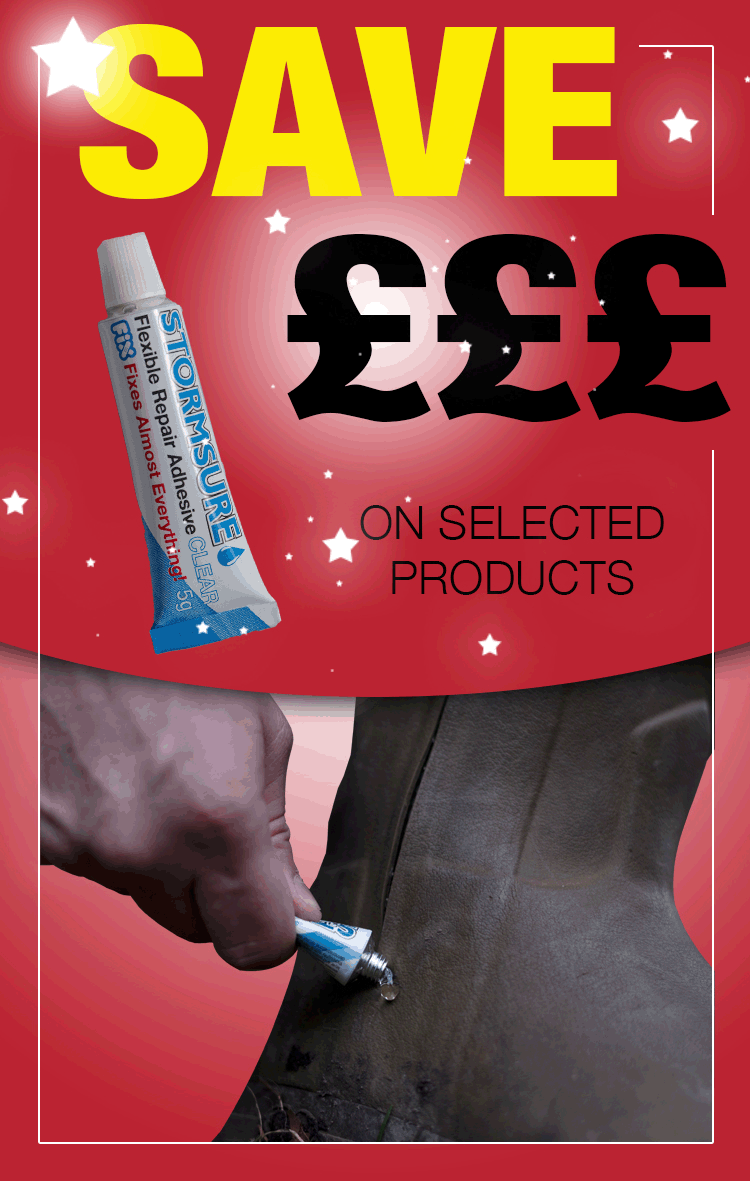
The total cost of this repair was under £40 so we can not believe the saving we have just made and we expect the repair to last for years. Absolutely delighted!
Of course most roof repairs will not be as dramatic as this but this is a little guide to show you what is possible when using Stormsure Flexible Repair Adhesive to repair a car roof.